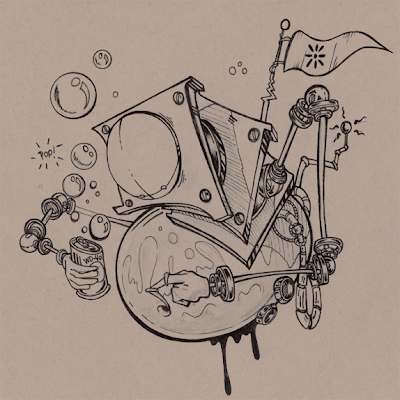
1. First I inked my drawing with a Micron 05 and 05. Then scanned it back into the computer
at 150 dpi.

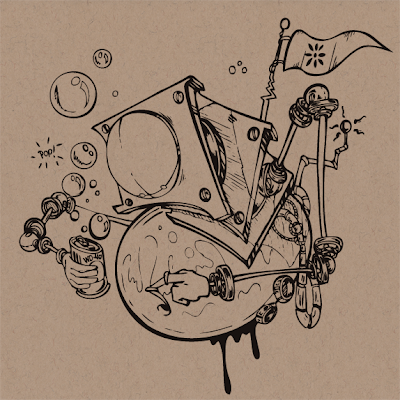
2. Then I vectorized it in Illustrator. First place your picture into illustrator choose File/ Place. Then Select your image and choose Object/live trace/tracing options. I usually set the resample to 150 and mess around with the settings till i get the closest to what i want and hit O.K. .
3.Then I choose the live paint option. Use the arrow tool and double click you image to remove the white background. Then use the paintbucket tool with the stroke and fill set to empty and click in all of the rest of the white areas making them transparent.
4. Select your image and press Ctrl_c to copy the image.

5. Then I open photoshop and hit Ctrl_n to create a new file, and Ctrl_v to paste in the illustrator. file.
6. Create a new layer click on that layer holding the mouse down and drag that layer down behind your drawing layer.
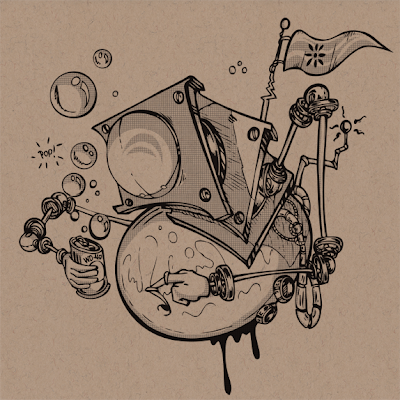
7. Next on the layer behind my drawing i created a halftone dot pattern using the ellipse tool. Like the old zipatone or letraset that illustratiors and draftsmen used to use to shade in comics and drawings with. This has come back is style with Anime, Ashly Wood, and Skottie Young's work and most black and white comic books. Plus I have just always loved that look.
8. I created a layer mask for the dot layer by selecting Layer/Layer Mask/ reveal all. now I can use the brush tool set to the color black, and erase all of the dots I want without damaging the dot layer. This is so it is easy to fix mistakes and so i can just use that layer over again.
9. Then I turned down the opacity of the dots to about 34%
10. Create another new layer behind the dots layer.
11. now im ready for the next step adding color
No comments:
Post a Comment